Samarth Portal Registration 2026: New Student Sign-Up Guide
Registration is the step that trips up more new students than almost anything else on the Samarth Portal, mainly because it’s often the very first time they’re using the system, with no prior experience to fall back on. This guide breaks down what “Samarth Portal registration” actually involves, the documents you’ll need, and the mistakes that cause the most delays afterward.
What Registration on Samarth Portal Actually Means
Registration is the process of formally creating your student account on your university’s Samarth system after your admission has been confirmed. It’s different from the admission process itself, which usually happens on a separate system or through counselling; registration is the step where your confirmed admission gets converted into an active student account with a login, giving you access to exam forms, fee payment, and results going forward. Skipping or rushing this step tends to cause problems much later, when a wrong detail entered during registration surfaces on an admit card or marksheet, sometimes not noticed until it’s time to apply for a job or further studies years down the line.
Registration vs Admission: Don’t Confuse the Two
Many universities run a separate admission or counselling portal (sometimes called CSAS, CUET-based counselling, or a state-level entrance system) that’s distinct from Samarth. Once your seat is confirmed there, registration on Samarth is the next formal step, not a repeat of the same process. If you’re still waiting on your admission result or counselling seat allotment, you’re not at the registration stage yet.
Step-by-Step: Registering on the Samarth Portal
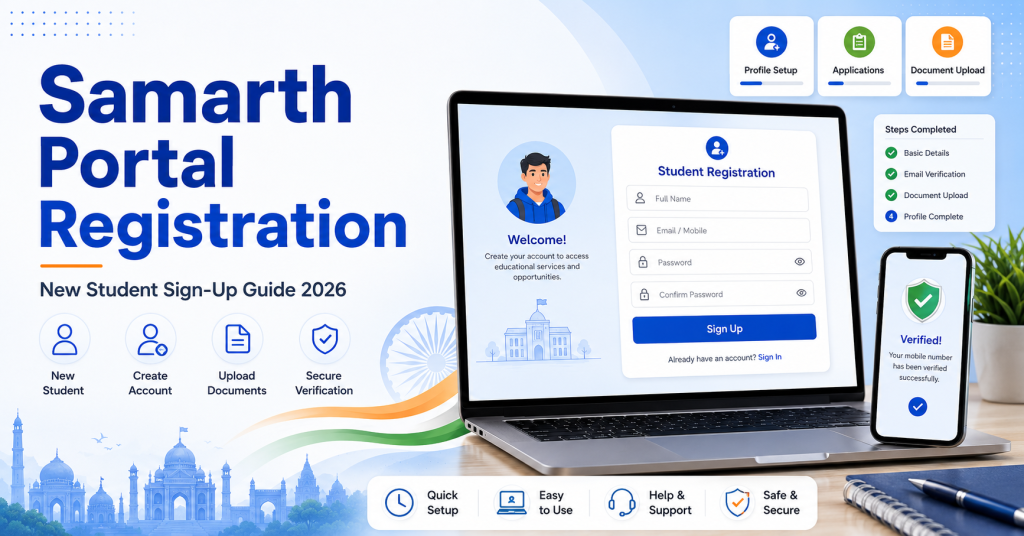
- Visit your university’s official website and find the Samarth Portal or Student Registration link.
- Click “New Registration” rather than the standard login option, since you don’t have an account yet.
- Enter your basic academic details: course, college, admission year, and category, exactly as they appear on your admission documents.
- Verify your mobile number and email address through an OTP sent to each.
- Upload the required documents in the specified format and file size.
- Set a password you’ll actually remember, avoiding anything obvious like your date of birth.
- Submit the form. You should receive confirmation of your registration and your login credentials shortly after.
Documents You’ll Typically Need
Every university asks for a slightly different document set, but the following table covers what comes up almost universally during Samarth Portal registration.
Standard Document Checklist for Samarth Registration
| Document | Common Format Required | Notes |
|---|---|---|
| Passport-size photograph | JPEG, under specified size limit | Recent photo, plain background, matching your ID |
| Signature scan | JPEG, small file size | Signed on plain white paper, scanned clearly |
| Previous qualifying certificate | Marksheet or passing certificate of your last qualifying exam | |
| Category certificate (if applicable) | Must usually be within its stated validity period | |
| Migration certificate (if applicable) | Needed if joining from a different board or university |
Photo and Signature Format Requirements
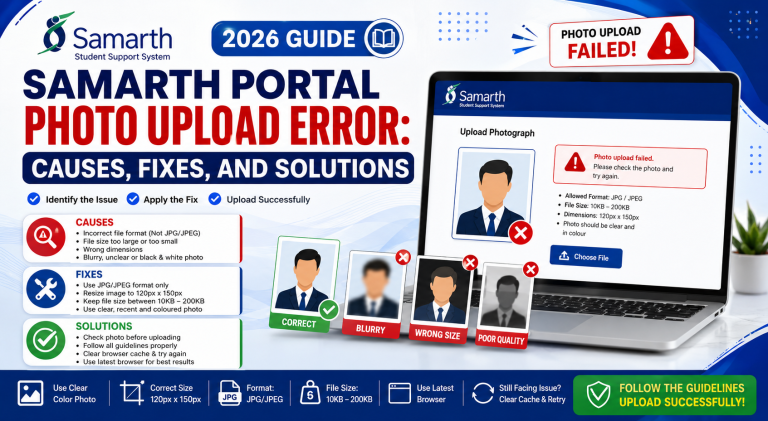
These two files cause more upload failures than any other document, almost always because of file size rather than actual content. Keep both under the specific limit stated on the form, usually somewhere between 20KB and 200KB depending on the university, and use a plain background for the photo.
Certificate and Migration Document Requirements
PDF certificates should be legible scans, not photos taken at an angle on a phone camera. If your migration certificate or category certificate has an expiry or validity window, check it’s still valid at the time of registration, since an expired certificate is a common reason registration gets held up for manual review.
Mistakes That Cause the Most Problems Later
A handful of small errors during registration end up causing outsized headaches by the time exams and results roll around.
Data Entry Mistakes to Watch For
Misspelled Name or Wrong Category Code
Even a single letter off from your official documents can cause your marksheet and degree to not match your ID proof later, creating complications for job applications or further studies. A wrong category code can also affect fee calculation and scholarship eligibility, and correcting it after the fact usually requires a formal application with supporting documents.
Document and Contact Detail Errors
Oversized or wrongly formatted documents are a common reason uploads fail silently without a clear on-screen explanation. Similarly, using an email or number you don’t check regularly is risky, since these are your lifeline for password recovery, and an inactive contact detail can lock you out entirely later.
What Happens After You Submit Registration
Once submitted, your details typically go through a verification step on your college’s end before your account becomes fully active. This can take anywhere from a few days to a couple of weeks depending on how busy the admission season is at your specific college. During this period, don’t panic if your dashboard looks empty or incomplete; it usually fills in once verification is done. If it’s been more than two to three weeks with no change, that’s a reasonable point to follow up directly with your college’s admission office rather than continuing to wait.
Checking That Your Registration Went Through Correctly
Once your account is active, log in and carefully review every field on your profile – name, date of birth, category, course, and college. Catching an error here, in your first week, is far easier to fix than discovering it on a marksheet two years later. If you spot anything wrong, report it to your college’s exam or admission office immediately with your supporting documents.
Re-Registration for Returning Students
If you’re returning for a new academic year rather than registering for the first time, the process is usually shorter, often just confirming your continuing details and paying the applicable fee for the new session rather than a full document upload again. This is sometimes called re-registration and typically opens on a fixed schedule each year, similar to how exam forms open on a schedule each semester. Missing this window can delay your access to exam forms for the upcoming session, so it’s worth treating it with the same urgency as any other academic deadline. Some students assume re-registration is optional or automatic; it generally isn’t, and skipping it can quietly lock you out of exam forms months later without an obvious warning at the time.
Registration Fee Payment
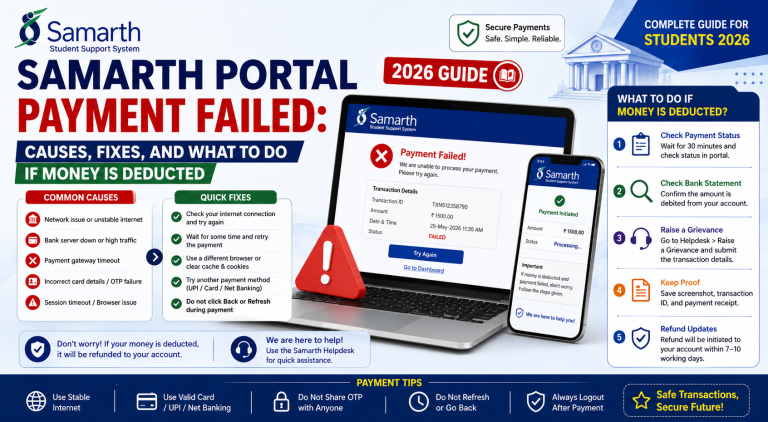
Most universities charge a nominal registration fee as part of this process, payable through the portal’s integrated payment gateway. As with any online university payment, avoid refreshing or navigating away mid-transaction, and screenshot the confirmation page immediately since it can disappear once you move to another screen. If money is deducted but your registration still shows as incomplete or unpaid, this is typically a reconciliation delay between the payment gateway and the portal, usually resolving within a few working days. Keep your transaction ID and bank statement ready in case you need to follow up with your college’s accounts section.
Registering From a Mobile Phone vs a Computer
Registration involves several document uploads and detailed form fields, which makes it genuinely easier to complete on a laptop or desktop rather than a phone. Mobile browsers sometimes handle file upload fields inconsistently, and it’s easier to miss a required field on a small screen without noticing. If a computer isn’t available, using Chrome in desktop mode on your phone tends to handle these forms more reliably than the standard mobile view, though it’s still worth double-checking every section before final submission.
Getting Help If Registration Won’t Go Through
If you’ve entered everything correctly and the portal still won’t accept your registration, a few things are worth checking before assuming it’s a technical fault: confirm your admission has actually been finalised on your college’s end (not just provisionally allotted), check that all mandatory fields marked with an asterisk are filled, and verify your document file sizes are within the stated limits. If everything checks out and it still fails, your college’s admission or IT support office is the right point of contact, ideally reached in person or through an official email rather than informal channels, since registration issues often need someone with backend access to resolve.
Frequently Asked Questions
Do I need to pay a fee for basic registration on Samarth Portal?
Most universities charge a small registration fee as part of the process, though the exact amount and what it covers varies by institution. Check your specific university’s fee structure notice for the current amount.
Can I register on Samarth Portal before my admission is fully confirmed?
Generally no. Registration is meant to formalise an already-confirmed admission into an active student account, so most portals won’t allow registration until your college has processed and confirmed your seat.
What if I made a typo in my name during registration?
Report it to your college’s exam or admission office as soon as you notice, with your original identity documents as proof. Minor corrections are usually possible, though the process and required paperwork vary by university.
How long does it take for my account to become fully active after registration?
This depends on your college’s processing speed, typically ranging from a few days to about two weeks, especially during the busiest weeks of a fresh admission cycle.
Is re-registration the same process as the first-time registration?
Not usually. Re-registration for returning students is generally a shorter process, mainly confirming continuing details and paying the fee for the new session, rather than uploading all your documents again from scratch.
What happens if I miss the re-registration deadline?
This can delay your access to exam forms and other services for the upcoming session. Some universities allow a late re-registration with an additional fee, but this isn’t guaranteed everywhere, so it’s worth treating the deadline seriously and setting yourself a reminder well ahead of the actual cutoff rather than relying on a college notice you might miss.
Note: exact registration steps, document requirements, and fee amounts vary between universities since each customises its own Samarth Portal instance. Always check your specific university’s current notices before registering.
Related reading: Samarth Portal Login: Complete Step-by-Step Guide, What Is Samarth ID? Meaning & Format Explained, and AKTU ERP Samarth Portal Guide.